If you’re looking for an eco-friendly way to manage organic waste and boost soil fertility, vermicomposting is a great solution. The process of vermicomposting uses earthworms to naturally break down food scraps and other biodegradable materials into nutrient-rich compost. It’s simple, sustainable, and perfect for home gardeners or plant enthusiasts who want to reduce waste and enrich their soil the natural way. Here’s a detailed step-by-step guide on how to create vermicompost naturally.
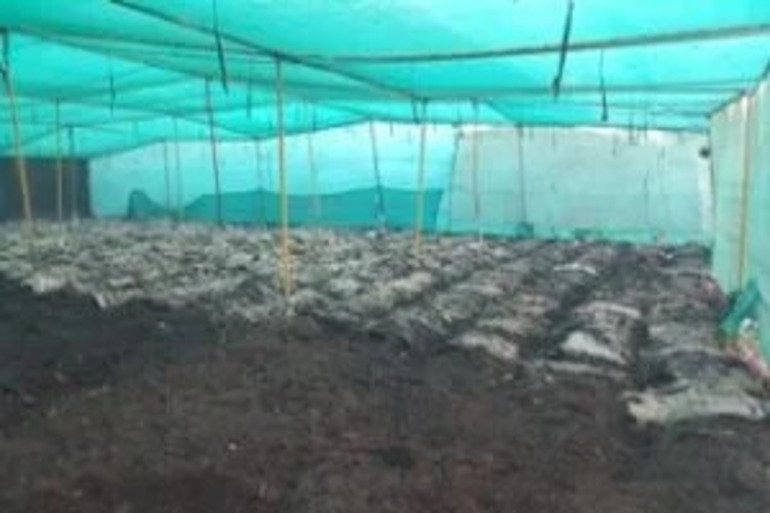
1. Setting Up the Vermicomposting Bin
- Choose a Container: Select a suitable container made of wood, plastic, or a combination of both. Ensure it has a lid to protect the compost from pests and to maintain moisture levels.
- Drill Holes: Drill small holes at the bottom and sides of the container for aeration and drainage.
- Prepare Bedding: Add a layer of moist bedding material such as shredded newspaper, cardboard, straw, or coconut coir. This provides a habitat for the worms and helps in maintaining moisture.
2. Selecting the Right Worms
- Red Wigglers (Eisenia fetida): These are the most commonly used worms for vermicomposting because they thrive in organic material and reproduce quickly.
- Amount: A pound of red wigglers (about 1,000 worms) is suitable for starting a small to medium-sized vermicomposting system.
3. Adding Organic Waste
- Types of Waste: Add kitchen scraps like fruit and vegetable peels, coffee grounds, tea bags, eggshells, and small amounts of bread or grains. Avoid adding meat, dairy products, oily foods, and citrus peels as they can attract pests and create odors.
- Chop Waste: Chop the waste into small pieces to speed up the decomposition process.
- Bury the Waste: Bury the kitchen scraps under the bedding material to prevent odors and discourage fruit flies.
4. Maintaining the Vermicomposting Bin
- Moisture Level: Keep the bedding moist but not soggy. The consistency should be like a wrung-out sponge.
- Temperature: Maintain the bin at a temperature between 55°F and 77°F (13°C to 25°C). Extreme temperatures can harm the worms.
- Aeration: Regularly stir the contents of the bin to provide oxygen and help decompose the waste.
5. Harvesting Vermicompost
- Timeframe: It typically takes 3 to 6 months for the worms to convert the organic waste into vermicompost.
- Separating Worms: To harvest the compost, move the contents to one side of the bin and add fresh bedding and food to the other side. The worms will migrate to the new food source within a few days. You can then collect the finished vermicompost.
- Screening: Use a mesh screen to separate any undigested material and large pieces from the vermicompost.
6. Using Vermicompost
- Soil Amendment: Mix vermicompost into garden soil to improve fertility and soil structure.
- Potting Mix: Combine vermicompost with potting soil for container gardening.
- Top Dressing: Apply a thin layer of vermicompost around plants as a nutrient-rich mulch.
- Compost Tea: Brew vermicompost in water to create a liquid fertilizer that can be sprayed on plants or used as a soil drench.
Top Benefits of the Process of Vermicomposting
- Nutrient-Rich: Produces compost packed with nitrogen, phosphorus, potassium, and beneficial microorganisms that support strong plant growth.
- Improves Soil Quality: Enhances soil texture, boosts aeration, and increases water retention for better root development.
- Environmentally Friendly: Reduces organic waste in landfills, cuts down on greenhouse gas emissions, and supports sustainable living.
- Cost-Effective: Decreases dependence on chemical fertilizers, saving money while keeping your garden chemical-free.
By following the process of vermicomposting, you not only reduce household waste but also contribute to a healthier, greener environment.
Garden Gold’s vermicompost is created using these same sustainable principles, ensuring the highest quality and effectiveness for your gardening needs.